
How to Choose a Meat Tenderiser: Pounder, Hammer, or Needle Tool?
A practical comparison of three manual meat-tenderising formats in the current ZELIND UK range.
In This Guide
Which format should I choose?
Choose a broad pounder when the main job is controlled flattening, a dual-faced hammer when you want two surface options, and a needle tool only when repeated penetration is the intended preparation method. The ingredient, cut, thickness, and recipe should decide—not the number of features.
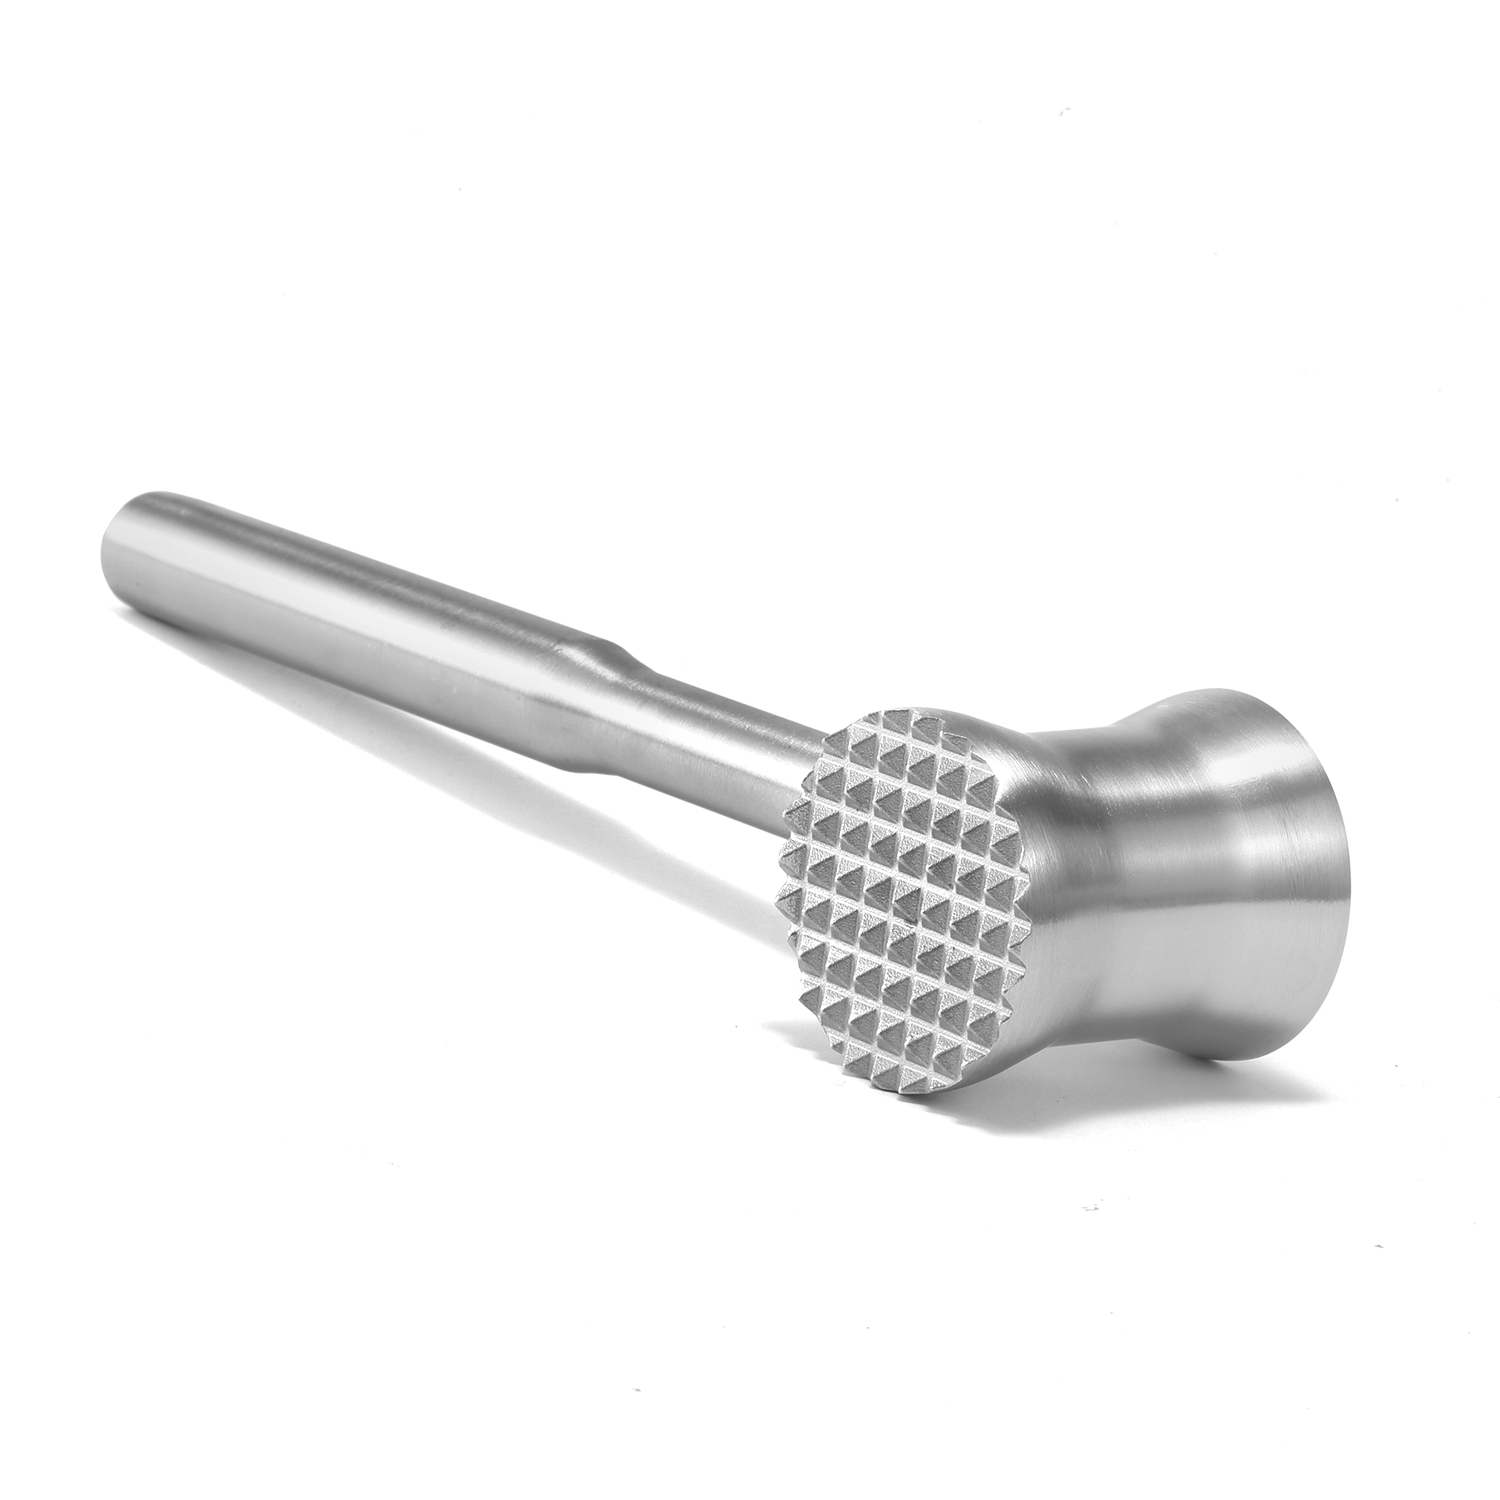
ZELIND currently lists a 304 stainless steel pounder, a 304 stainless steel dual-faced tenderiser, and an 18-needle stainless steel tenderiser. Compare the verified dimensions and construction on each product page before ordering.
How do the actions differ?
A pounder or hammer transfers force through a face; a needle tool works through multiple narrow points. These are different motions and should not be treated as interchangeable. Use a clean, stable surface suitable for food preparation, keep the working area clear, and follow the product instructions.
Which current model matches my task?
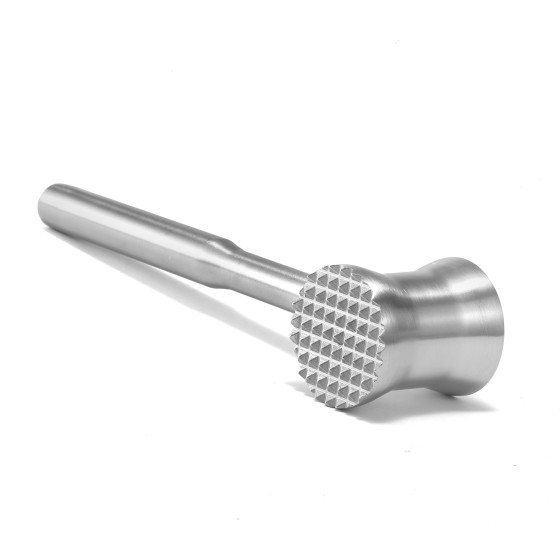
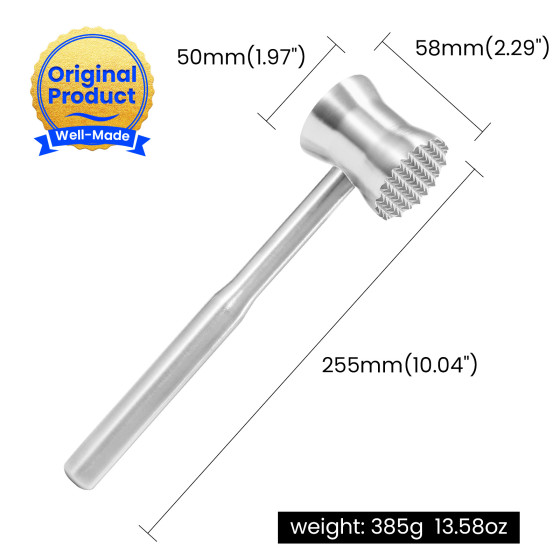
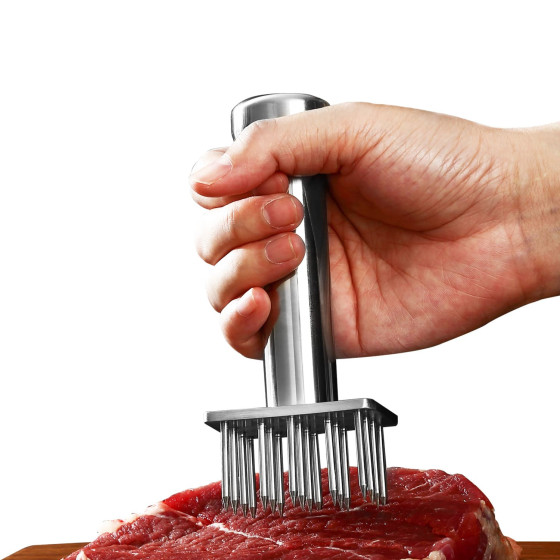
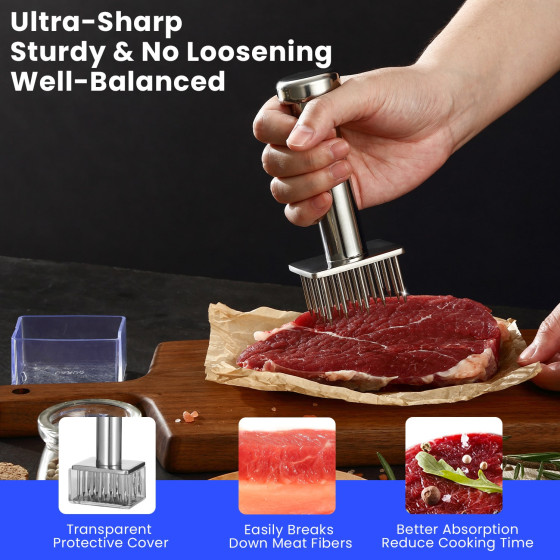
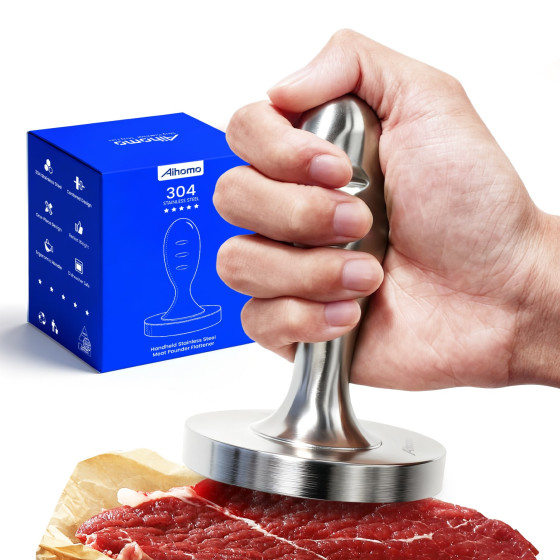
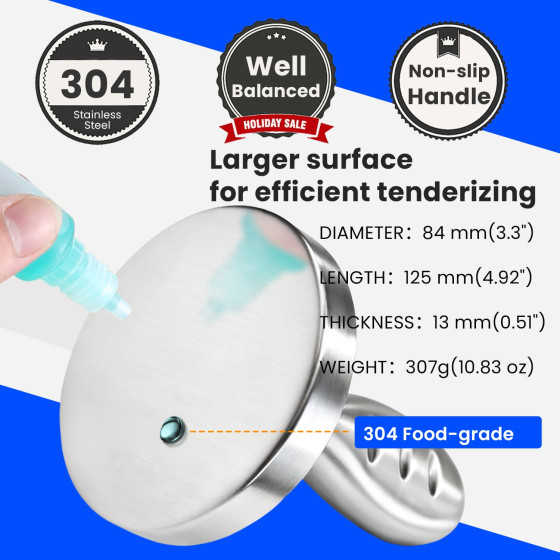
The Aihomo flat-faced pounder has an 84 mm smooth working face for flattening and evening thickness; it has no textured face or needles. WP-529 offers smooth and textured faces in a one-piece 304 stainless-steel head and handle. WP-4093 uses 18 needles for penetration rather than broad-faced flattening.
If you only want a more even cutlet thickness, begin with a flat working face. Choose the needle format only when penetration is part of the intended method, and consider the cooking and cleaning requirements below. The associated product pages provide current prices, availability and the verified facts for each model.
Does the format change how the meat should be cooked?
The Food Standards Agency explains that an intact whole cut of beef or lamb may be served pink when its outside has been properly seared, because bacteria are normally on the surface. It separately advises that meat penetrated all the way through, such as skewered meat, should be cooked thoroughly because surface bacteria can be moved into the centre.
A needle tenderiser also pierces below the surface. The FSA page does not name domestic tenderisers specifically, so the cautious household conclusion is to treat needle-tenderised meat as needing thorough cooking unless validated product and recipe instructions state otherwise. Poultry and pork should in any event be cooked all the way through under current FSA guidance.
What should I check before buying?
Check overall dimensions, working-face or needle layout, grip shape, weight, storage needs, and every place food residue may remain. If a listing does not verify a fact that matters to your use, ask ZELIND before buying.
How should a tenderiser be cleaned?
Clean promptly after food contact, keep hands clear of points and edges, inspect joints or recesses, and dry fully before storage. The exact product instructions always take priority over general advice.
Sources and further reading
Related Tools
These are products from our store. Check the brand, model, current availability, and care instructions on each product page.
Related Content
Care Guide
How to Clean, Inspect and Store Meat Tenderising Tools After Raw Meat
Separate the dirty tool, wash hands, clean every food-contact surface, inspect the structure, dry fully and store it safely.
Check Details
Tool Guide
Start With the Task: A Better Way to Choose Prep Tools
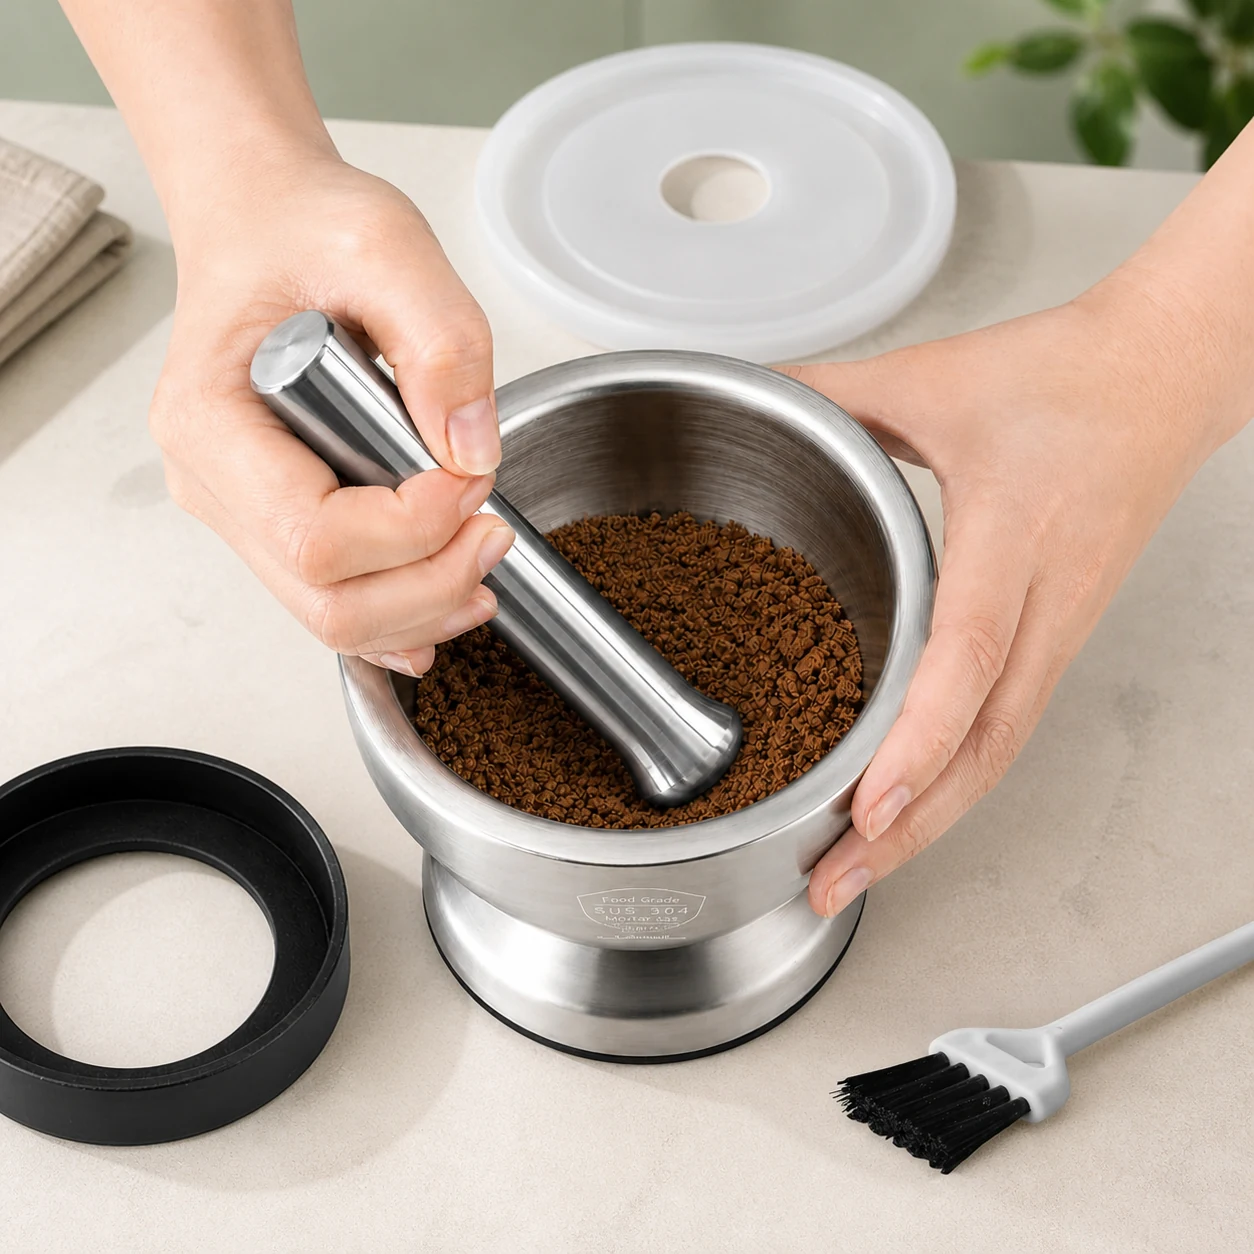
A practical UK checklist for comparing tenderising, mashing, grinding and coffee-prep tools with less guesswork.
Check Details
 Material Guide
304, 316 and Other Stainless Steels for Kitchen Tools: A UK Guide
A wider food-contact guide to the stainless-steel numbers British shoppers see, the practical quality differences, and what still has to be checked on the finished tool.
Check Details
Material Guide
304, 316 and Other Stainless Steels for Kitchen Tools: A UK Guide
A wider food-contact guide to the stainless-steel numbers British shoppers see, the practical quality differences, and what still has to be checked on the finished tool.
Check Details