
How to Clean, Inspect and Store Meat Tenderising Tools After Raw Meat
Separate the dirty tool, wash hands, clean every food-contact surface, inspect the structure, dry fully and store it safely.
In This Guide
1. Contain the raw-meat step
When tenderising is finished, place the tool in a defined cleaning area rather than on a clean worktop or beside ready-to-eat food. Do not wash raw meat: splashing can spread harmful bacteria to hands, clothing, utensils and work surfaces.
Wash hands thoroughly with soap and warm water after handling raw meat and before touching clean utensils, cupboard handles or ready-to-eat food. Clean any board and work surface used for the raw-meat step as you go.
2. Follow the tool instructions, then clean promptly
Check the product directions before washing. Do not assume that a tool is dishwasher safe, can be soaked, or should be dismantled unless its instructions say so.
Remove visible residue before it dries, keeping fingers away from sharp points and textured faces. Wash every food-contact surface in hot soapy water, reaching around perforations, teeth, shafts, seams and handle transitions with a suitable non-damaging brush or cloth. A quick rinse or wipe is not a complete clean.
3. Disinfect only with a suitable method
Where the product instructions and your hygiene routine call for disinfection, use a product suitable for food-contact equipment and follow its dilution, contact-time and rinsing directions exactly. Never mix cleaning chemicals.
Cleaning removes food and grease; disinfection is a separate step intended to reduce microorganisms. A disinfectant cannot work reliably through residue that has not first been removed.
4. Inspect the complete tool
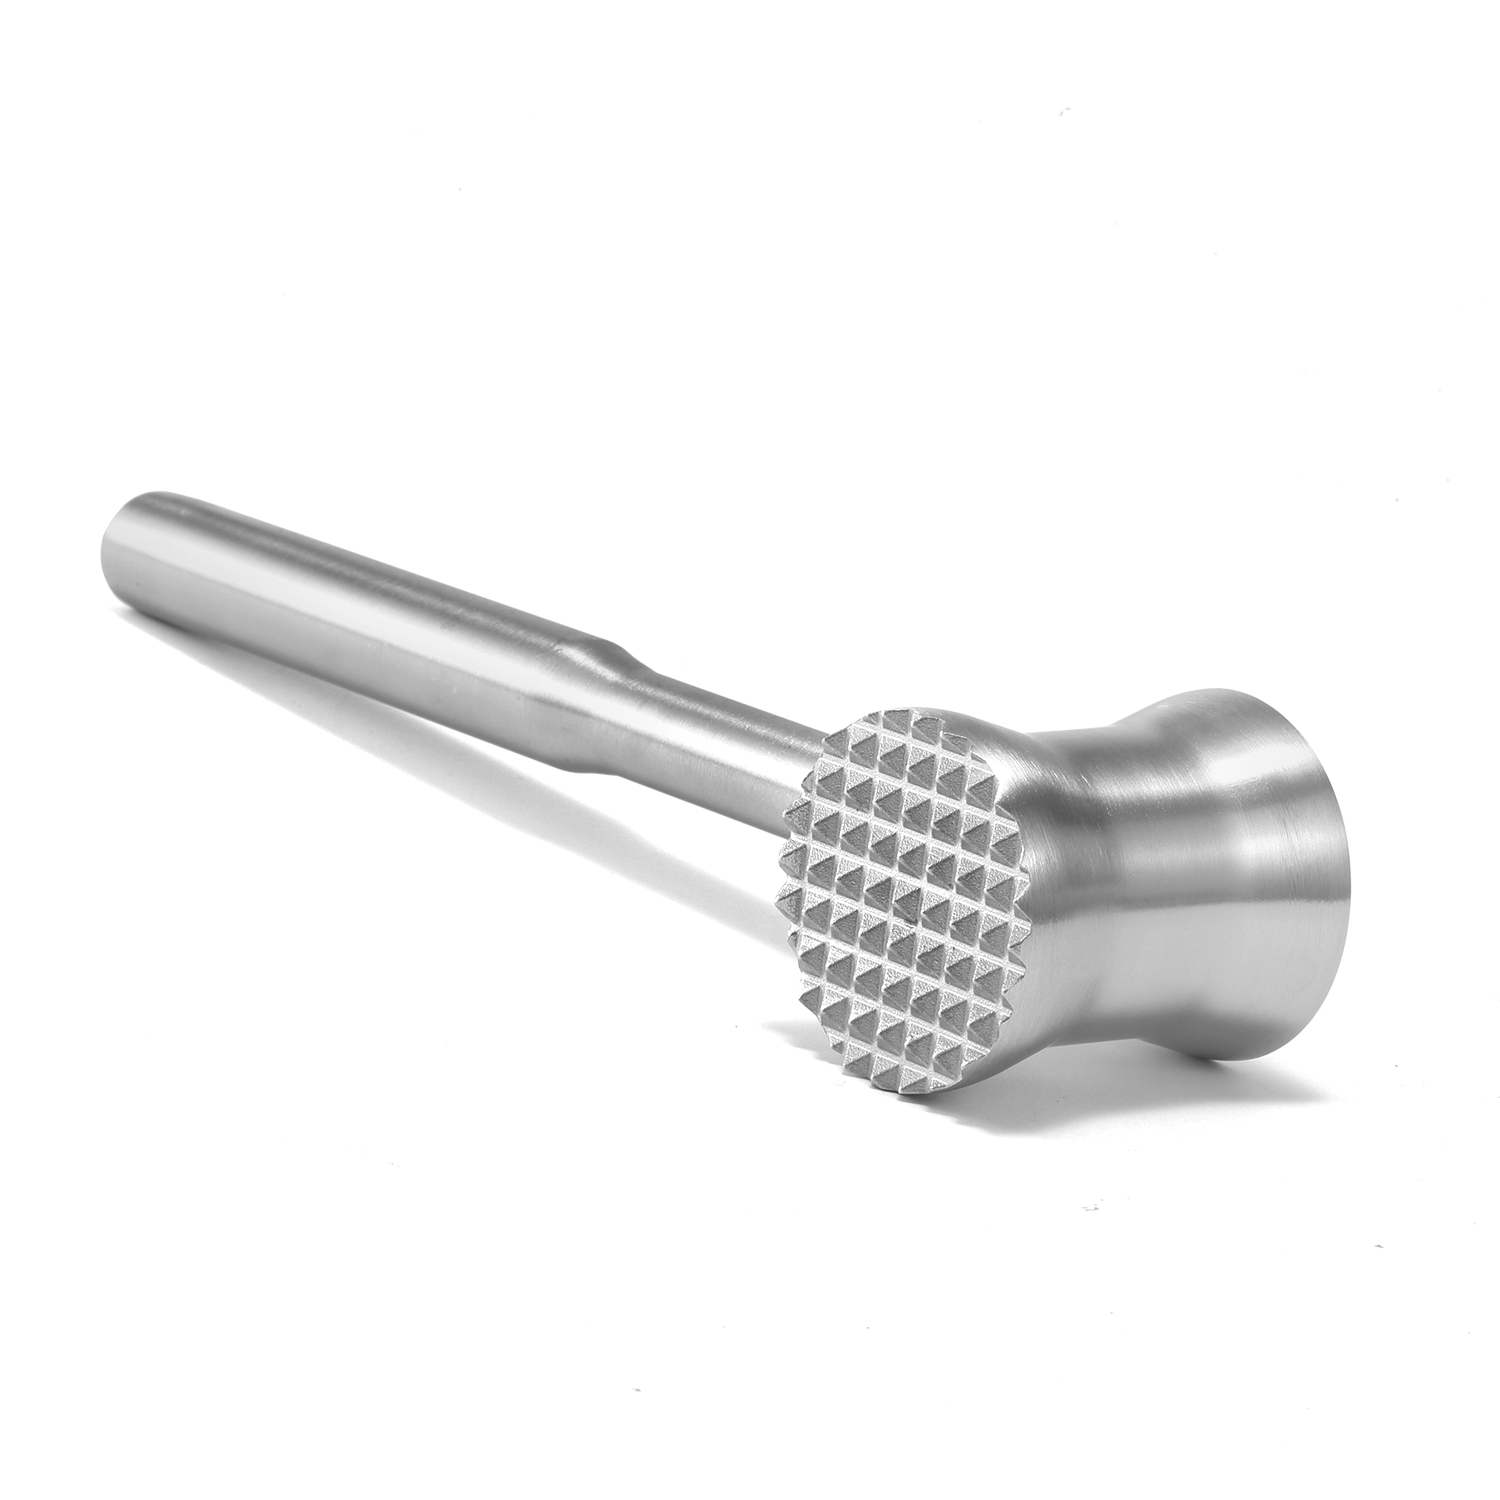
In good light, inspect the working face, points or needles, edges, joints and handle. Look for trapped food, bent or loose points, cracks, rough damage, corrosion, looseness or a change in the way a mechanism moves.
Do not test sharp points with a fingertip. If residue cannot be reached, a component is loose or damaged, or safe operation is uncertain, stop using the tool until it has been assessed or replaced.
5. Dry completely and store for a safe next use
Let water drain from cavities and overlaps, then dry the whole tool before it enters a drawer or container. Damp, closed storage makes inspection harder and is unhelpful to both the tool surface and the storage area.
Protect points and textured working faces from accidental contact. Store the clean, dry tenderiser away from utensils reserved for ready-to-eat food, and keep any protective cover clean and dry as well.
Sources and further reading
Related Tools
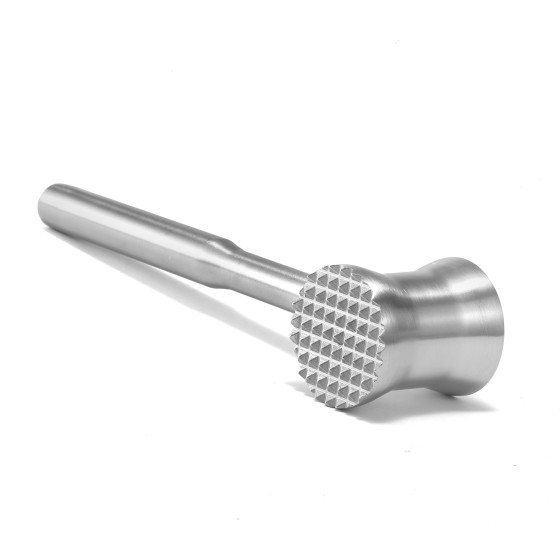
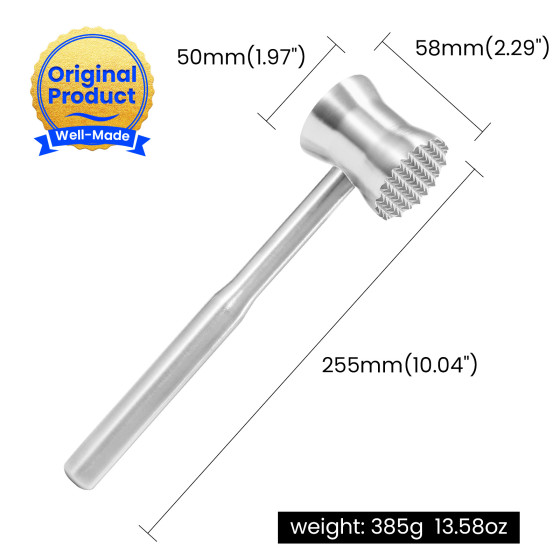
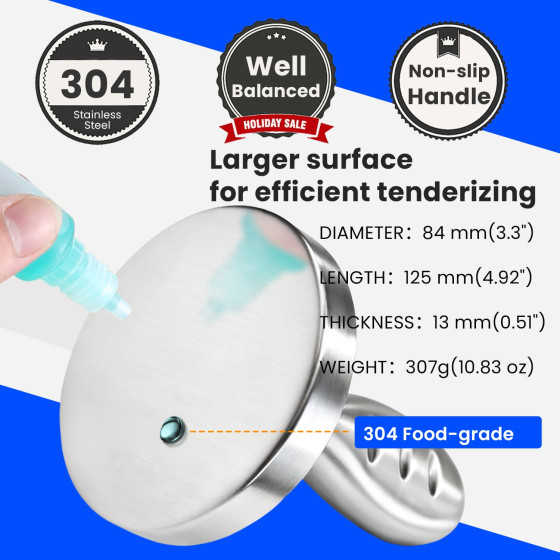
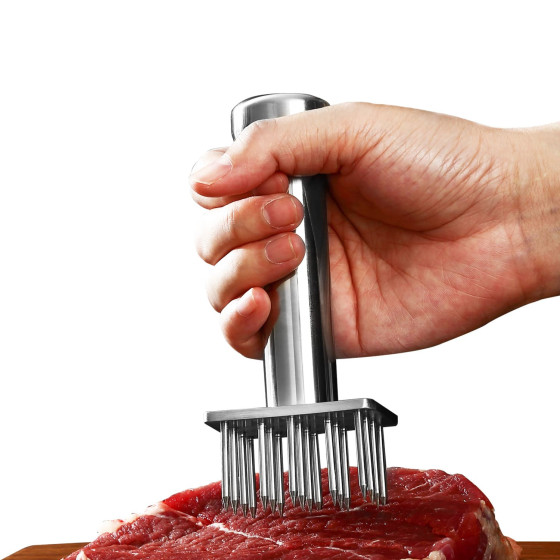
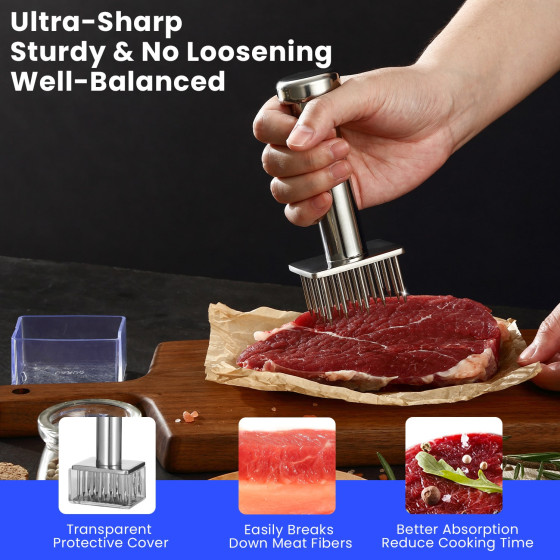
These are products from our store. Check the brand, model, current availability, and care instructions on each product page.

Related Content
admin/page.content_types.buying_guide
How to Choose a Meat Tenderiser: Pounder, Hammer, or Needle Tool?
A practical comparison of three manual meat-tenderising formats in the current ZELIND UK range.
Check Details
 Care Guide
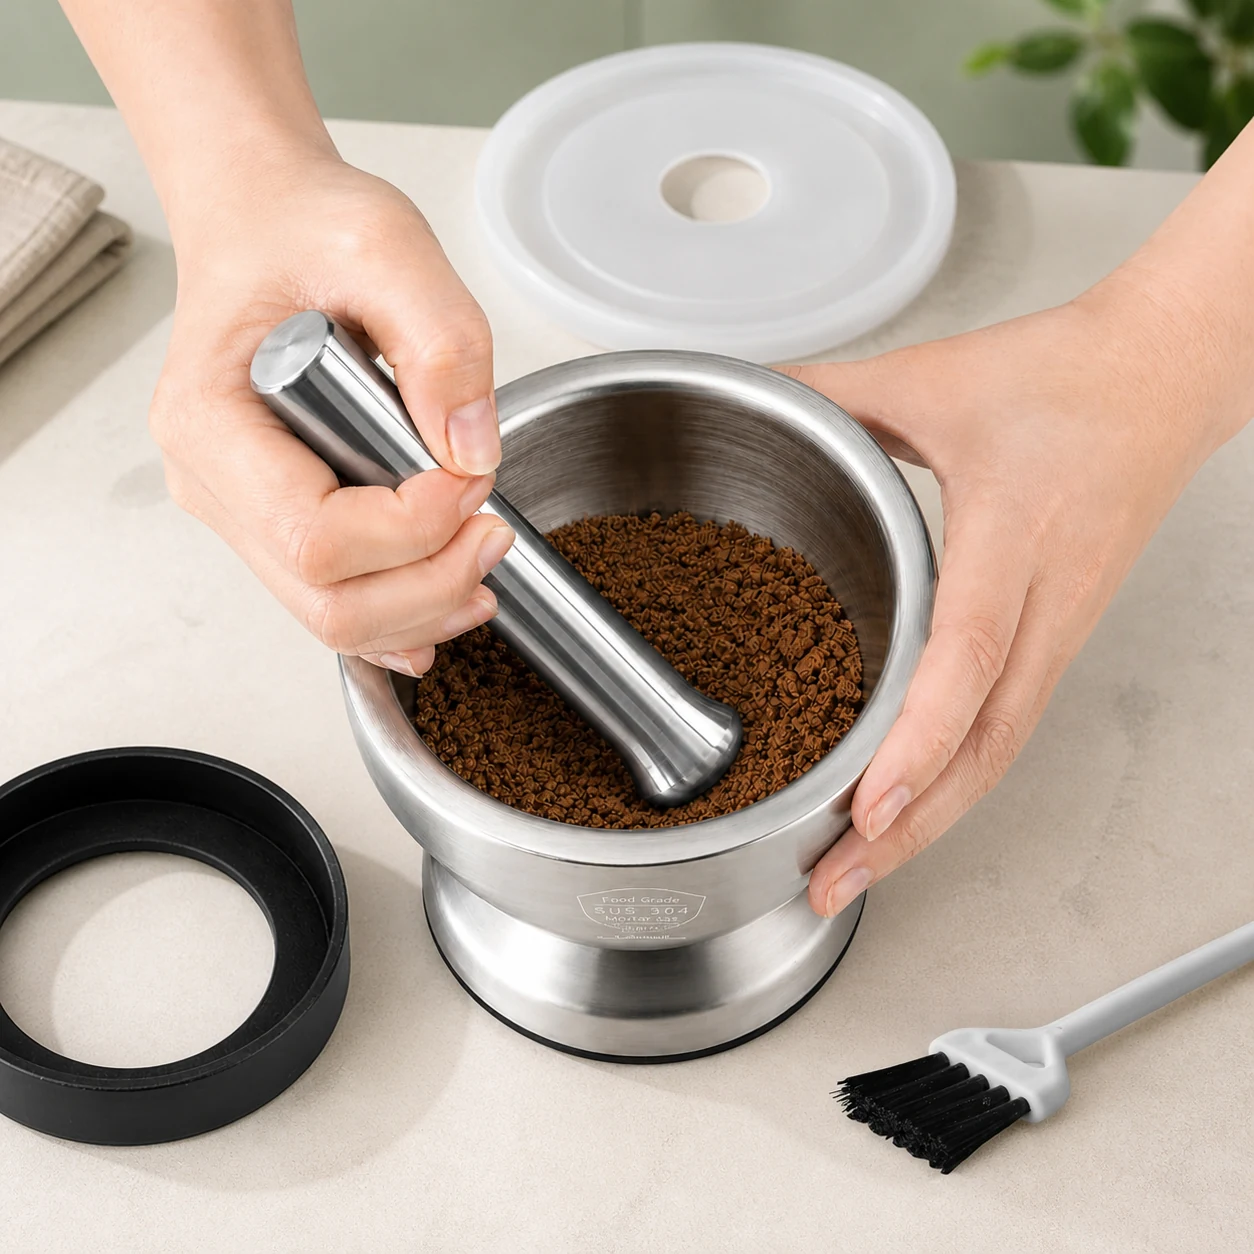
How to Clean and Care for Stainless-Steel Kitchen Tools
A UK-focused routine for keeping everyday stainless-steel prep tools clean, dry and ready for the next meal.
Check Details
Material Guide
304, 316 and Other Stainless Steels for Kitchen Tools: A UK Guide
A wider food-contact guide to the stainless-steel numbers British shoppers see, the practical quality differences, and what still has to be checked on the finished tool.
Check Details
Care Guide
How to Clean and Care for Stainless-Steel Kitchen Tools
A UK-focused routine for keeping everyday stainless-steel prep tools clean, dry and ready for the next meal.
Check Details
Material Guide
304, 316 and Other Stainless Steels for Kitchen Tools: A UK Guide
A wider food-contact guide to the stainless-steel numbers British shoppers see, the practical quality differences, and what still has to be checked on the finished tool.
Check Details